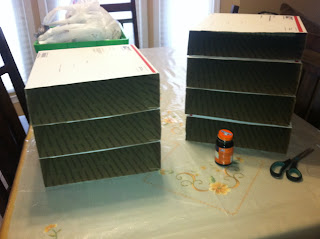
You will need:
For one holder: 4 Priority shipping boxes from the post office, decorated duct tape, glue, scissors
The best part about this project is that the priority shipping boxes are free! Go to your local post office and pick up a few boxes to create this inexpensive organizational tool.
First you need to put each shipping box together. Since the flaps will hang out, cut them off to look as smooth as you can. Once you have your shipping boxes assembled, stack each box, gluing each to the other, one by one. Do this until all boxes are connected.
Here comes the fun part! Take a roll of decorated duct tape and start from the back side. I didn't bother doing the back of the boxes since they will be facing the wall in my classroom. Tape the box slowly, keeping it nice and neat as you wrap around the boxes.
For the insides of the box, I cut slits to allow the inside of the box to have a little decoration too.
Happy paper storing!


No comments:
Post a Comment